Art
Teddy Bear Parade
Need: A box per child, rope, crepe paper.
Give each child a box with a rope(rope with a pull-handle works best-or tie the rope at the end to make a handle). Let the children decorate their boxes with crepe paper streamers. When the boxes are decorated, have the children place the teddy bears in their box. Then play music and have a Teddy Bear Parade.
Teddy Bear Face Mask
Need: Varied color construction paper,large crayons,hole puncher
Have children draw their own teddy bear face,cut mask out and use large rubberband to hold mask on face,the expression and originality of their idea of a bear is interesting idea for child,they may color if desired.
Contributed By: Darby
Bear head shape outline
Have children write their name on the back of the bear outline. On the front draw a bear face. Use strips of construction paper taped together to make a construction paper 'crown'. Glue or tape bear face to front to make a hat.
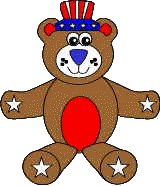 USA Teddy Bear
Glue bear on construction paper strips to create a hat.
Recommended Book

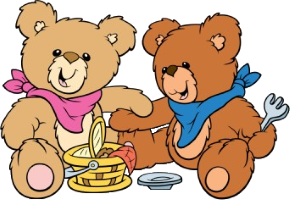
The Teddy Bears' Picnic by Jerry Garcia
Join Jerry Garcia in this board book edition of the all-time favorite song, illustrated by bestselling artist Bruce Whatley. It’s rollicking reimaging of the classic song—with singing, dancing, and picnicking teddy bears and a slight ’60s twist. Come along—it's time for the Teddy Bears' Picnic!


